Windows IP Setup

After you install a Windows OS you will have to do a few steps so you can have IPV4 and IPV6 connectivity


Step 1


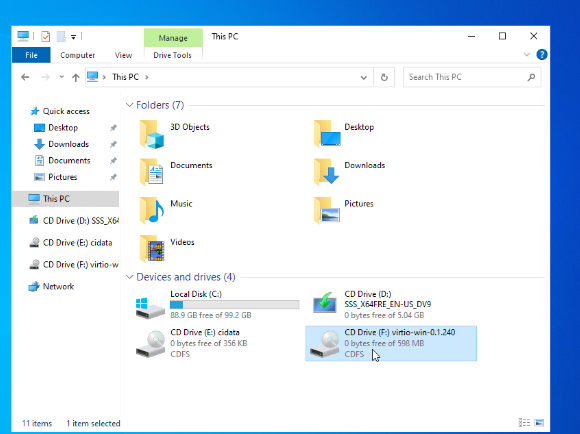
Open the virto-win-tool cd drive


Step 2

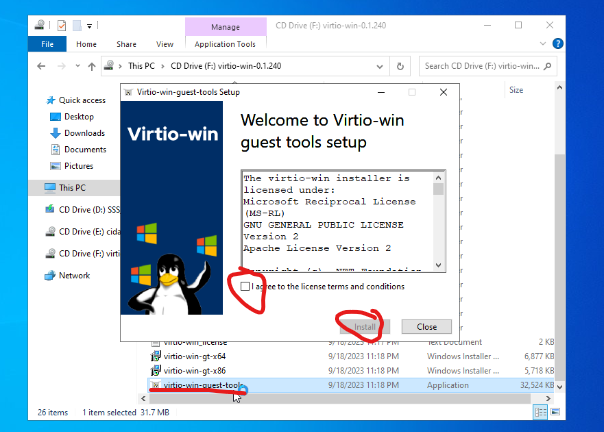
Run / install virto-win-guest-tools. Accept and agree on al terms and just click next until you finish installing the software.


Step 3


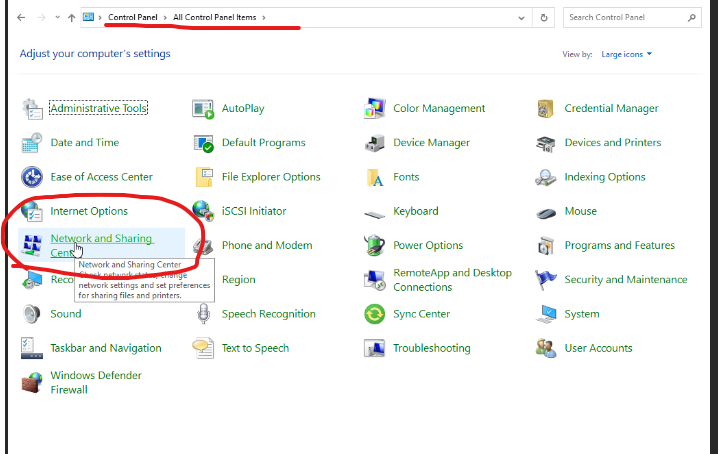
Go to Control Panel and open Network and Sharing Center


Step 4

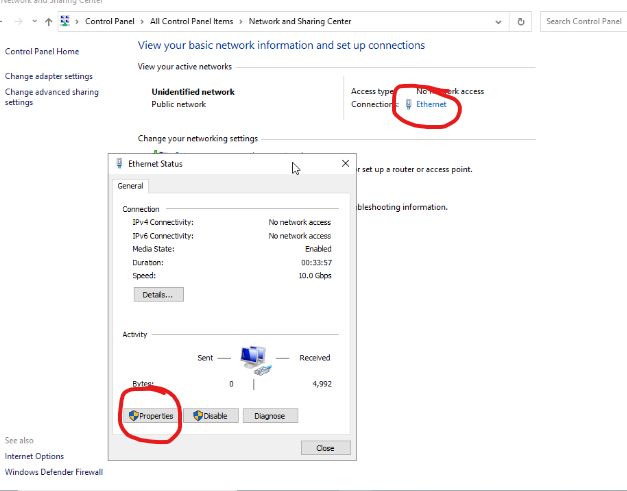
Click on the Ethernet Connection, then on properties


Step 5

For IPV4 select Internet Protocol Version 4 ( TCP/IP ) and in the next window enter the IPV4 settings of your VPS. You have these in the User Panel of the VPS and they were sent via E-mail also at order.


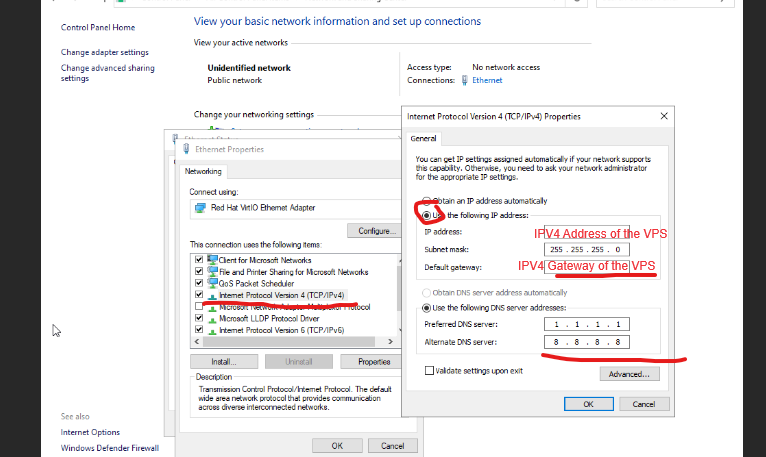
For IPV6 you will have to do the same, by selecting Internet Protocol Version 6 ( TCP/IPV6 ) and enter the IPV6 details there.


Finish the setup by confirming with OK on all windows opened.


Version 1

Date: 01-January-2024


  • Windows IP, Windows IPV4, Windows IPV6, Windows network
  • 68 Users Found This Useful
Was this answer helpful?

Related Articles

DDoS Protection on Your VPS/Service

DDoS Protection and Security Features Some of our services include DDoS protection, as specified...

VPS gives Error at apt/yum update/upgrade

Initial Setup: Please Allow 5–10 Minutes When you first start your VPS, please allow 5–10...

What is CPU Steal and how to measure it

What is CPU Steal Time? In Linux, CPU steal time refers to the amount of time a virtual...

VPS Storage add-on secondary drive

Adding a Secondary Storage Drive to Your VPS If you have opted for a storage add-on and the...

Automated VPS Upgrade/Downgrade Feature

VPS services can be directly upgraded or downgraded from your client panel. To use it:...